Enjoy Fruition's
Organic Apples & Orcharding Course!
Fruition’s free course shares dozens of video tutorials to surround you with abundance for seasons to come.
We look so forward to joining you on the journey!
10 Steps for Planting an Apple Tree
By Lauren Cormier & Petra Page-Mann
Hooray!
We’re planting trees!
And Friends, when we plant an apple tree, we are planting the future.
Before digging, before mulching — and ideally well before your tree even arrives — take the time to find just the right place for your tree. Where you’d love the tree to be may not be where the tree would love to be! We made our ‘6 Core Questions for Orchard Planting‘ blog to accompany you on the journey, enjoy digging in before you reach for your shovel ~
1) Assemble Your Tools!
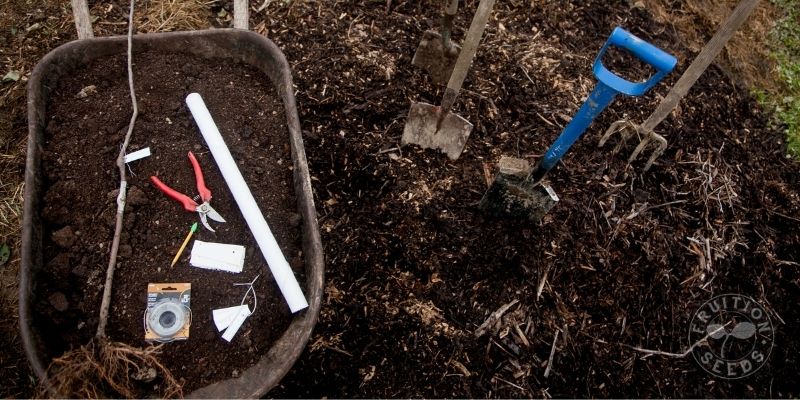
While none of these are hard-to-find, they’re so very handy to have on-hand for planting. Here’s our checklist to keep it both simple and joyful:
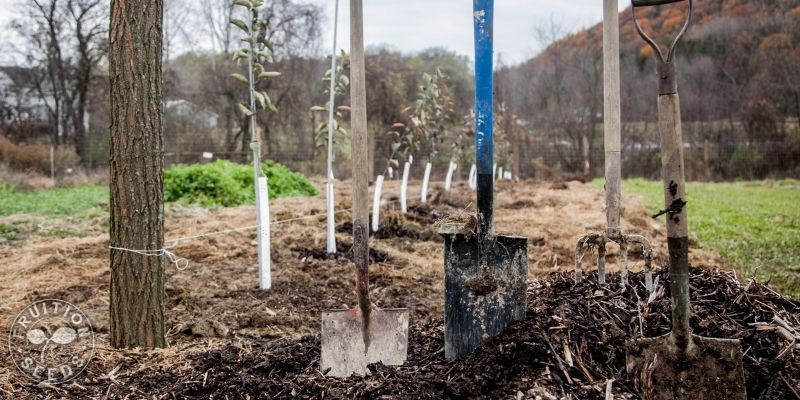
- Shovel/Pick Mattock In most soils, the best shovels to use for planting trees are steel round-pointed ones, the standard type that probably comes to mind for digging holes. If they’re slightly pointed at the end, they’ll be easier to use. In rocky soil, a pick mattock or nursery spade can be helpful for initially loosening up the soil to make for easier shoveling.
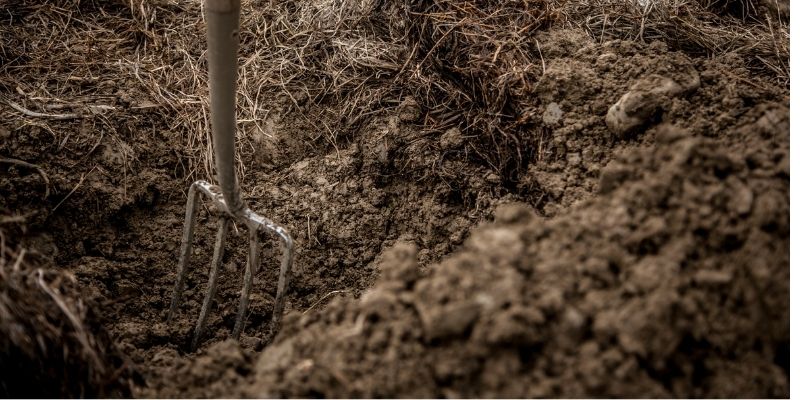
- Digging Fork In loose, dry and sandy soils a digging fork may not be necessary, but when more saturated and heavy soils are sliced with a shovel, a sheer line may form around the hole’s edge that tree roots will resist growing into. In these cases, loosening or ‘leavening’ the hole’s edge with a digging fork helps reduce compaction and increase root expansion capacity.
- Clippers Broken branches, roots and small suckers are better clipped than broken off. Fruition’s bare root stock won’t likely require any pruning, though other trees may benefit from a ‘heading cut’ to encourage branching.
- Stakes Not all trees require staking, though Fruition’s semi-dwarf rootstocks definitely do. The sooner the better! So plan to stake them as you plant.
- Wheelbarrow Once your tree is planted, a wheelbarrow is useful for transporting compost and wood chips to the tree. If you’re doing quite a few, a tractor is quite a convenient wheelbarrow!
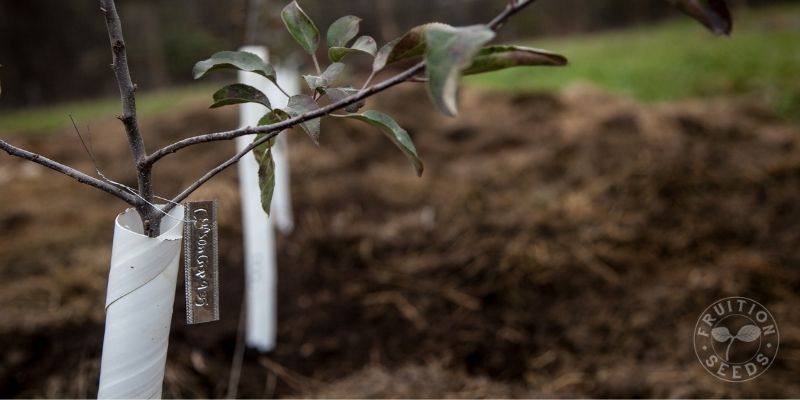
- Rodent Guards Will need to be put on each tree in fall and removed in spring.
- Compost and Soil Amendments Spring is best for applying soil amendments, see our Soil Testing for Trees and Orchards blog to learn more and see how we mix and apply them! If you’re planting in fall, it’s better to hold off on fertilizing until after winter has passed, since nitrogen applied in fall can cause trees to put on vegetative growth during the wrong time of year and then not harden off in time for winter.
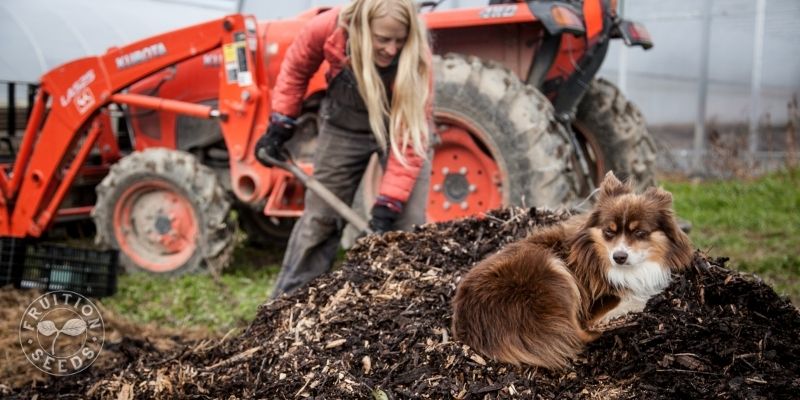
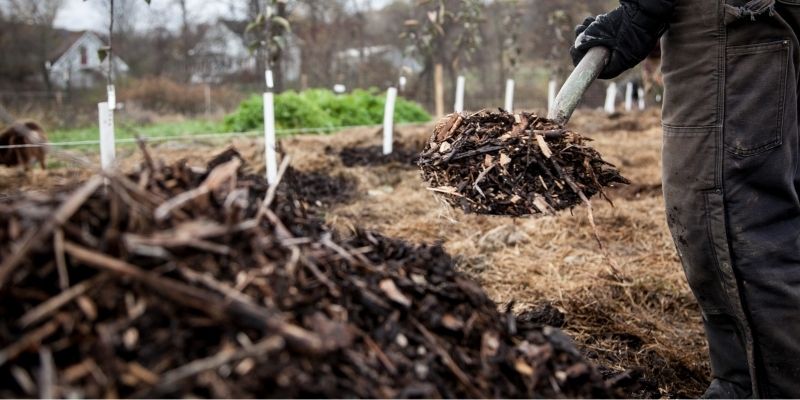
- Wood Chips The sooner wood chip mulch can be placed around the tree after planting, the better. Immediately is always best! Wood chips keep grass from growing near the trunk, which also means less damage from mice and borers.
- Water Trees need watering as soon as they are planted and again, to saturation point, each day after until the first decent rainfall. Whether by hose or by bucket, keeping this and future waterings simple is crucial for the tree’s health as well as yours.
- Fence If you don’t have a perimeter deer fence, metal caging is a great option for the first few years while the tree establishes. Stay tuned for details on how to protect your tree from deer, mice, porcupine and weed whackers ~
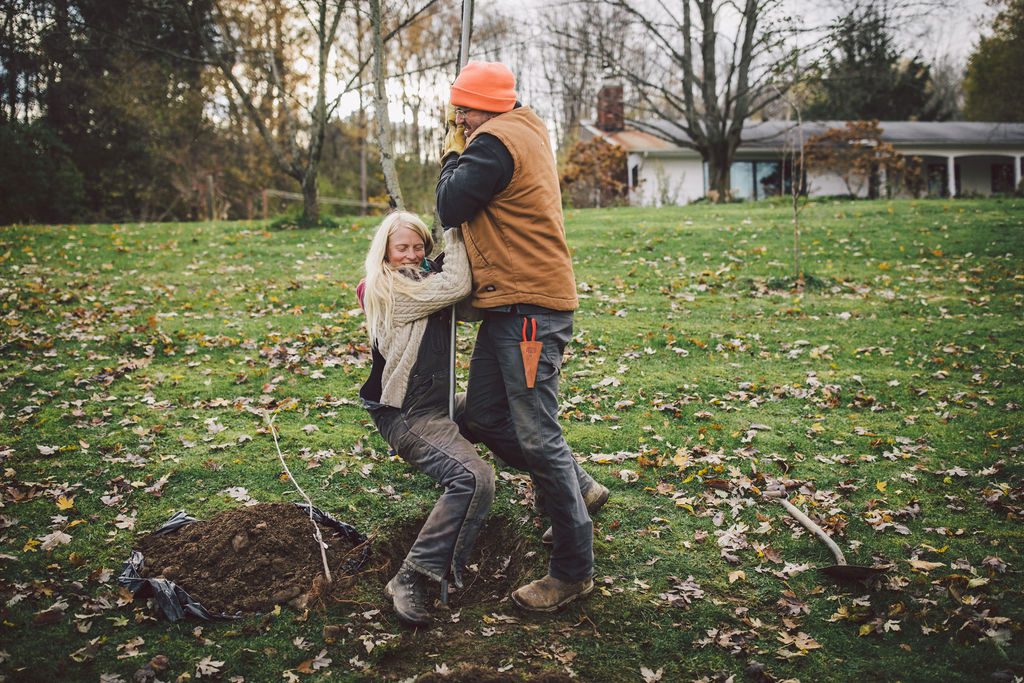
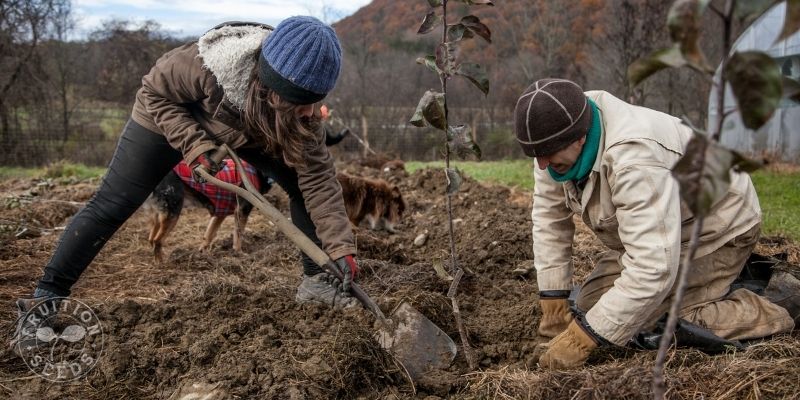
- Friends! Are so lovely to plant trees with! We planted our first twenty trees with several friends, including Heron below. We laughed a lot and learned a lot and we hope you do, too!
2) Dig the Hole!
How deep? How wide?
Are you digging into sod? Plowed soil?
There are so many considerations!
Here are the keys to keep in mind:
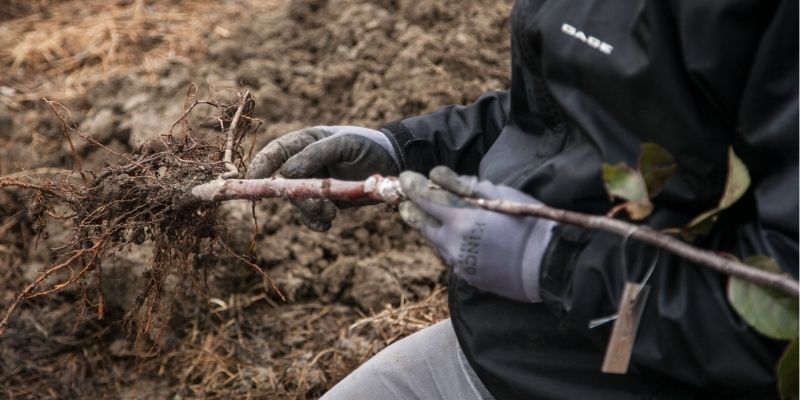
Depth: Your tree’s roots are your guide! Our goal is for the very bottom of the trunk to be level with the surrounding soil. The bottom of the trunk is where the color changes to the root zone; usually this is evident by a distinct line between trunk and roots. Depending on the size of your bare root stock, your hole may be 10 to 24 inches deep or deeper.
Why? Unlike roots, tree trunks do thrive with consistent moisture. If a tree is planted too deep, the moisture from the soil or mulch touching the trunk will eventually lead to rot and fungal issues, as well as suckering from the root systems. Alternatively, trees planted too high will eventually have exposed roots which will perish from exposure to air.
As a general rule, it is better to err on the side of caution and plant a little high than too deep. This is because as the soil settles, the tree may sink a little. As organic matter builds up around the tree from mulching, it will eventually rot the base of the trunk if it is below soil level.
Width: Three feet is a solid minimum which (you’re right!) is so much wider than the hole is deep. This is, in fact, the goal. Apple trees thrive when planted into holes that are wider than they are deep, encouraging their wide feeder roots to expansively explore.
Why? Tree roots can spread horizontally as well as down, with most of the ‘feeder’ roots growing in the top six inches of soil.
As a general rule, err on the side of a wider hole. Loosening up soil around the edges will enable the roots to grow more wide and more easily! The wider the hole and subsequent mulch ring, the longer it takes for the surrounding grass to creep into the mulch around the trunk. When we need to remove sod, we aim to do at least a 3’ diameter mulch ring.
If we really want to be precise in our circle making (which is entirely unnecessary), we use our measuring tape and spray chalk to draw a perfect circle as we do a loop around the stake. Many times, we’ll just measure the desired radius and guess the rest of the way.
Are you digging into sod? Stay tuned for our blog sharing the pros and cons of diverse approaches of preparing soil well ahead of time — or not at all!
In the meantime, a note on digging into sod: Removing grass is a lot easier when it’s mowed very short. Mow the area surrounding the tree to decrease rodent habitat. Keep in mind one of our goals is to always keep grass from touching the trunk. When grass is up against the trunks of the trees, even for a short amount of time, they usually become infested by round-headed apple borer and other disappointments ensue.
Digging the Hole: Use a round-pointed shovel or nursery spade, as your soil and body prefer!
Pile the soil in a single, small mountain adjacent to your hole. If you’re digging into and around sod, you may wish to park your soil on a tarp or piece of cardboard to help return it to your hole with ease.
Loose, crumbling edges are essential. If your soil is saturated and more loam than sand, you might notice smooth, sheer sides forming as you dig your hole. Such edges will inhibit root expansion, so loosen them with a digging fork to create a stucco-like ‘leavened’ side that will be open for roots, mycelium and life of all kinds.
Molehills & Mountains are all relative! Create a small mound of loosened soil at the bottom of the hole that the roots can be spread over, helping eliminate potential for air pockets under the roots.
Rocks: Our mentors have shared diverse views, from removing all rocks larger than 1.5 inches to removing none. Our general sense is that if your soil is largely gravel and stones, making room for nutrient-dense soil may be best for your tree, though it’s crucial for the original soil to be returned fully to the hole. If your back-filled soil to significantly more rich than the soil around your hole, your tree may resist growing beyond the hole, becoming partially root-bound.
3) Plunge the Stake!
Though not all apple trees need staking, all semi-dwarf bare root stock from Fruition benefit from immediate staking. To prevent any stake from removing even the tiniest portion of your apple’s roots, its best to plunge the stake before planting your tree.
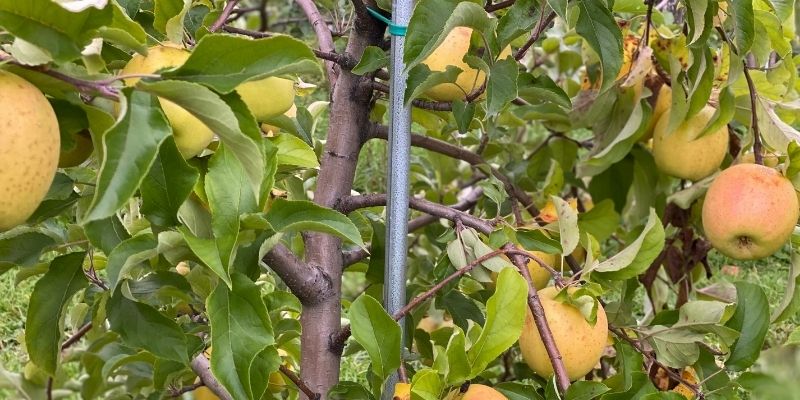
The easiest method is a find a strong metal stake or metal conduit (found at many hardware stores) approximately 10 feet tall to pound 2 to 3 feet deep. Once planted, the tree can be attached to the stake with any number of ties, one of the best being black (or green, below) rubber bands available at Orchard Valley Supply and other retailers of orcharding supply.
4) Plant the Tree!
Hooray!
The moment you’ve been waiting for, woooHooOOooOoooo!
So many generations of countless species will be so grateful for you ~
Goal: Friends, when planting trees, our goal is for the very bottom of the trunk to be level with the surrounding soil. (The bottom of the trunk is where the color changes to the root zone; usually this is evident by a distinct line between trunk and roots.)
Get a Handle on It! We’ve found it’s easiest to place the tree in the hole and determine the correct depth by running a stick, board, or straight tool handle across the top of the hole. (The change from root zone to bark on the trunk should be level with the bottom of the stick. This is where the tree was planted in the nursery and it should be planted at the same level again.) Using a stick or handle is especially helpful on hillside plantings where it can be less obvious where the grade is from the middle of the hole.
Dip your tree roots in water so each rootlet is marvelously moist before being planted.
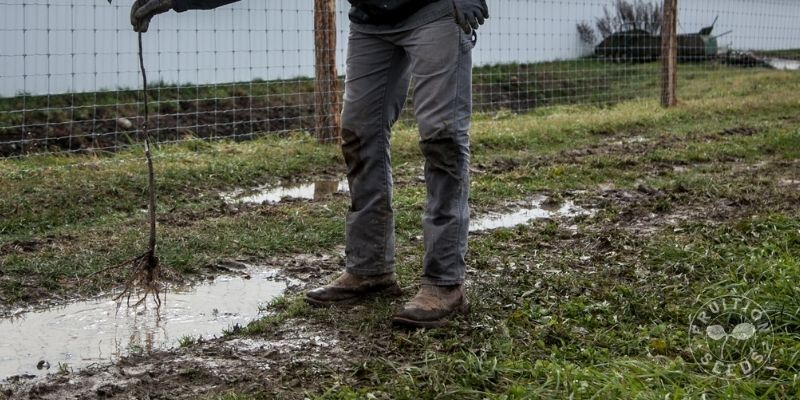
Prune any broken roots and spread them wide in your hole, so they’re all flowing outwards, starting out on the right track. Trees that are root bound or have circling roots will continue on like this once planted, affecting the stabilization of the tree as well as the ability for the roots to reach out to the nutrients needed. Typically this is not an issue for bare root trees (like the ones Fruition shares) that have not been potted before transplanting.
Double check the depth before you backfill your hole, holding the tree at the appropriate depth as straight as possible. Some trees will have more of a bend from the graft than others; and some varieties will have a more crooked nature than others. Most bends will straighten over time as the trunk expands. Perhaps this is just another way trees can help our species embrace diversity in our world ~
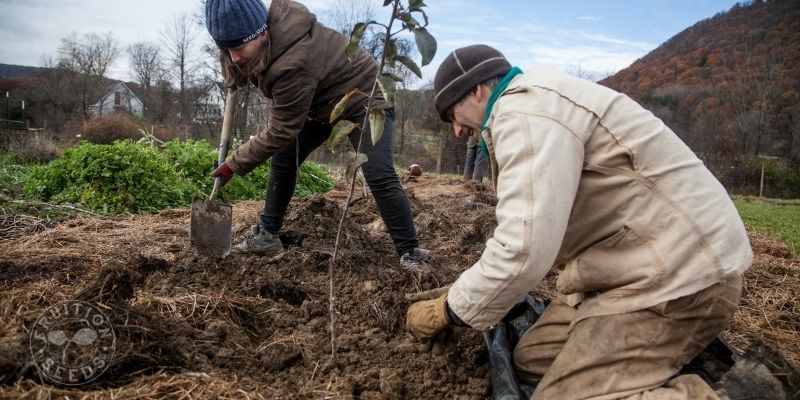
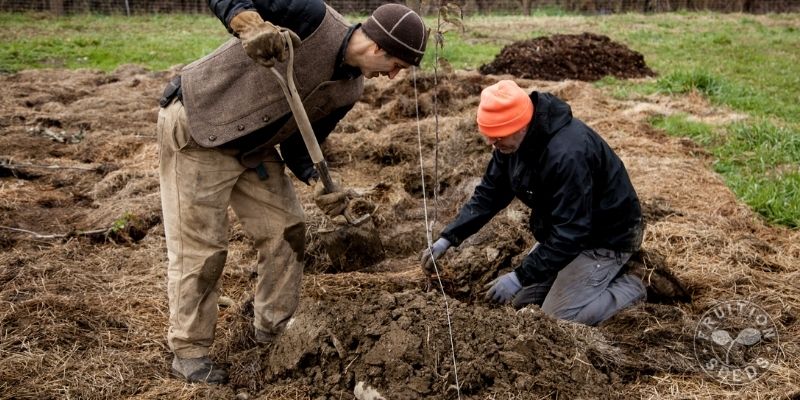
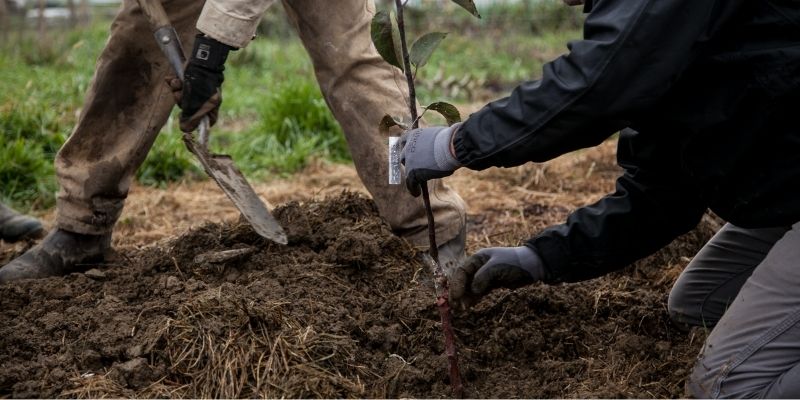
Backfill the soil into the hole. This is much more fun with two people because one person can hold the tree, the other backfill, and both inspect from different angles to make sure it’s being planted straight and at the correct depth. But totally possible for one person to do too!
Resist backfilling with ‘better’ soil or fertilizer, since additional nutrients can burn roots. Amendments produce the best results when mixed with compost and applied on top of the soil. The soil you backfill with should consist only of the the soil that came out of the hole, or else you risk your tree’s roots resisting growing beyond the hole.
Gently tamp the backfilled soil with your feet once all of the soil that came out is back in the hole, removing any potential air pockets. Air kills the roots and should be avoided in the hole as well as any exposed roots near the soil level. Tamping the soil down also stabilizes the tree while the roots take hold and helps avoid leaning after planting. The tree should feel stable in the soil, while at the same time not overly compacting the soil around it and damaging roots. Make sure the soil is right up against the trunk of the tree and there are no air gaps.
Triple check to make sure the tree is at the correct depth and none of the top roots are exposed. Way easier to fix now than in the future, and much better for the tree!
Create a ‘saucer’ around the tree ring, going around the perimeter of the hole, where water will drain during rain or watering. A circular water catchment that helps keep the water near the root zone rather than running off to another location.
Prune any broken branches back to the closest outward facing bud.
Hooray!
We planted a tree!
And the most critical part is yet to come ~
5) Water is Life!
Once the tree is planted, fully saturating the soil is critical. If you can plant just before rain, this is the dream!
Hose If your hose can reach, set it on drip until the soil is saturated. In our gravelly loam soil, it’s often about a half hour.
Buckets If your hose can’t reach, bring 1 to 2 buckets of water for each tree. This should be enough to fill the hole and saucer, then drain, and fill back up with water again.

Daily watering is crucial until your first soaking rain. If drought hits in the first season, water daily until rain. Check for any air pockets around the trunk or tree ring each time the tree is watered and rejoice: Usually trees only need water in the first year of planting!
6) Protect from Rodents!
Mice & Voles can quickly ‘girdle’ and kill young trees, munching their nutritious inner cambium bark in winter. Spring plantings don’t require mice protection but fall plantings do. We put mouse guards on each fall and then remove them in spring. We check for borers when we take our guards off in spring and then again when we put them back on in fall. We aim to leave the trunk open and visible during the growing season, allowing plenty of air flow and making borer patrol easy during the months it matters most.
If planting in fall, we recommend tucking your rodent guard on before spreading compost and mulch as just another layer reducing trunk exposure to excess moisture.
7) Attach the Tree to the Stake
If you’re staking your tree (which all of Fruition’s semi dwarf trees would love!), immediately connecting the tree to the stake is crucial.
Rubber Orchard Bands as well as home-made cloth ties are fabulous for connecting the tree to the support stake.
We tuck one just above the rodent guard once we slip it on, another 6 to 8 inches below the top and a third band in the middle of those two. Though they’re UV resistant and will expand without inhibiting your tree, you’ll likely need to replace them every few years.
8) Compost & Mulch: Build Your Tree Ring
Compost First! Once the tree has been watered, it can get 2 to 3 inches of compost and amendments dumped around it. Rake your dumped compost into a circle around the tree, keeping the compost away from the trunk and thus thin at the center, helping the trunk stay aerated and resist rot. Thicken the compost layer as it spreads outward around the tree. Maintain the saucer water catchment as you go.
Mulch Second! Next we spread 4 to 6 inches of wood chips atop the compost. The thicker the mulch layer is, the better and longer the weed suppression will be. Spread your mulch thin near the trunk so it is not built up around the base of the tree. Thicken the mulch layer as it spreads outward around the tree, maintaining your saucer water catchment.
Resist combining these layers of compost and woodchips: It’s crucial to keep the nutrients in the compost close to your apple’s feeder roots just beneath the soil with the wood chips retaining moisture and suppressing weeds as the mulch on top.
Friends, keeping this ‘tree ring’ weeded in all seasons is key, so there are abundant nutrients always at the surface and no plants within a couple feet of it.
9) Label the Tree!
There is no better time to have a strategy for permanent labels than before the tree goes in the ground. It’s so easy to put off or even worse, those famous last words, “I’ll remember what it is!” Even if just planting a few trees, it’s great to keep them labeled, and even better, create an orchard map.
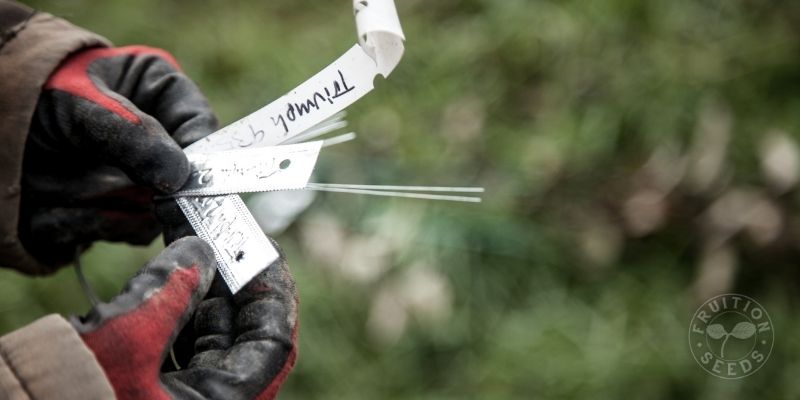
The trees will come from the nursery with a small plastic tag with its name (like the one on top, below), though this temporary tag won’t actually hold up in the elements over time. They often become faded, torn, mangled or broken off within the first year. Since these tags aren’t meant for permanent use, it’s ultimately up to us to keep track of the varieties we plant and create long term labels for the trees.
There are all kinds of labels for trees, and some of them hold up better than others. Purchase a few, make a few more (get creative!) and either way, make an orchard map in addition to your permanent labels. Also, we’ve learned the hard way: Oil-based sharpies and other permanent markers fade quickly in sunlight.
Without further ado, here are our favorite approaches to labeling our apples:
- Make an Orchard Map As trees mature, the permanent label we once earnestly created can become difficult to read or even illegible. Whether on paper or on a computer, we’re so happy to have an orchard map as a backup in these situations. At Fruition, our orchard map is in a google doc and stay tuned, we’ll share it with you, soon! For larger orchards, we recommend numbering each tree and keeping an orchard key.
- Aluminum Tags These are one of the most common types of labels. Write on them with pencil to create an indentation that never fades, a huge advantage over any label that is written on in ink. Many of the aluminum tags available are fairly small and can be difficult to locate when the tree matures. While they don’t fade or rust over time, we’ve found that they still become difficult to read after many years, and sometimes partially devoured by expanding tree branches.
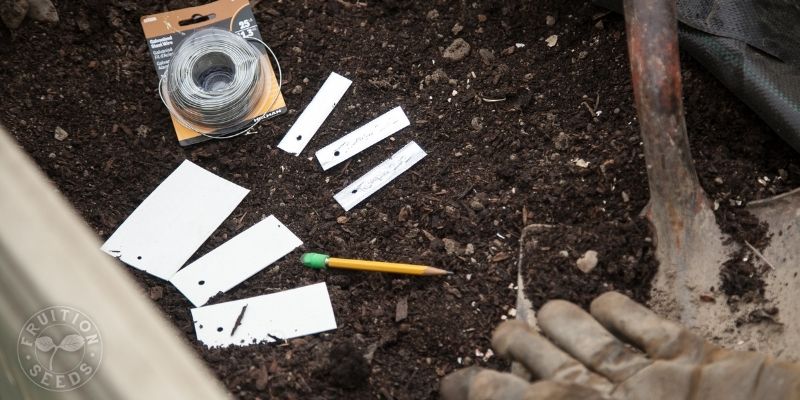
- Vinyl Tags We love the John Bunker method, simply combining vinyl siding, metal wire and a number two pencil! We love up-cycling something that would otherwise lounge in the landfill. Not only that, these home-made labels don’t fade as quickly as sharpie or pen! Drill holes through cut-out vinyl rectangles, or squares…your choice! And attach to tree branches with metal wire. Check every few years to make sure the pencil isn’t fading. It usually holds up remarkably well, often never fading a bit. Thanks, John!
- Painted Wood If you can make the time and crave the creativity, a) we love you and b) painted wooden signs are fantastic! They fun to make, they hold up well (especially if you coat them in sealant) and will bring you and your community joy for years to come.
10) Protect from Deer!
Oh Deer Always, first and foremost, a deer fence is the easiest way to assure yourself of an orchard for years and generations to come. Unfortunately, a high quality 8+ foot metal deer fence can be prohibitively expensive. A less expensive option is 8-foot tall plastic mesh black deer fencing hung tightly on posts. As a short-term deer exclusion technique, we can use metal livestock fencing or chicken wire to cage our trees until another option is ready for action. Keep in mind that cages will need to be placed high enough to prevent deer from reaching their heads over and in… and placed low enough, can keep out porcupines.
Porcupine How could we not mention porcupine?! One sweet adorable porcupine can single handedly destroy an orchard in just one fine evening. If you don’t have a fence to exclude them, make sure your temporary cage is low enough to keep them out.
Now! Take a Deep Breath
We’re so often in a rush and one of the greatest gifts of trees, if we choose to accept it, is to slow down. In the shade of branches and the beauty of blossoms, the joy of the birds and shared abundance with friends, let there be pause. No matter how brief, before rushing off to the next demanding moment, take a deep breath. Root yourself into the earth. Give thanks for your growing edges. Listen for birdsong. Feel your lungs fill. You are at home. You are among family.
May the trees we plant amplify abundance for us all.
Sow Seeds & Sing Songs,

& the whole Fruition crew

