Hooray!
It’s almost Memorial Day!
Here in Zone 5, we’re so ready to transplant tomatoes.
And Friends, transplanting is deceptively simple. Doing it well is the difference between harvesting a bit and harvesting abundance.
Here is exactly how we transplant tomatoes, after years of trial and error, and I hope these keys surround you with great abundance!
First things first:
Timing is Everything
Friends, resist planting too early.
It’s counter-intuitive in our short seasons to not plant warm-season plants like tomatoes as early as possible, but here’s the thing: Young, healthy transplants yield greater abundance compared to older, stressed transplants. Every time.
Also, think of tomatoes, basil, peppers and other warm season crops as ‘cold-sensitive’ rather than ‘frost-sensitive.’
A pepper, for example, experiencing temps less than 55 F will cross her proverbial arms and pout for a few weeks (if not months) in protest of her apparent lack of proximity to the equator, the cradle of her evolution.
You can plant early and cover such crops, but I’ve found it’s largely not worth it.
Wait til both the soil and air temps are consistently cozy (above 55 F) and their growth will be quick, healthy and the subsequent abundance astonishing.
Without further ado, here are the
7 Steps to Transplanting Tomatoes:
1. Grow or Find Yourself a Gorgeous Transplant
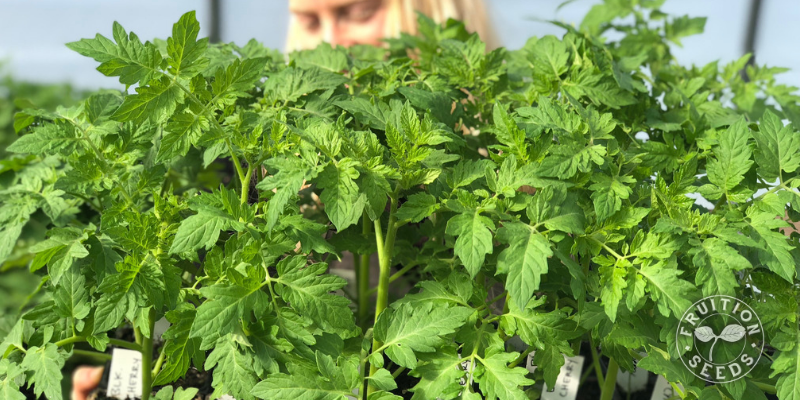
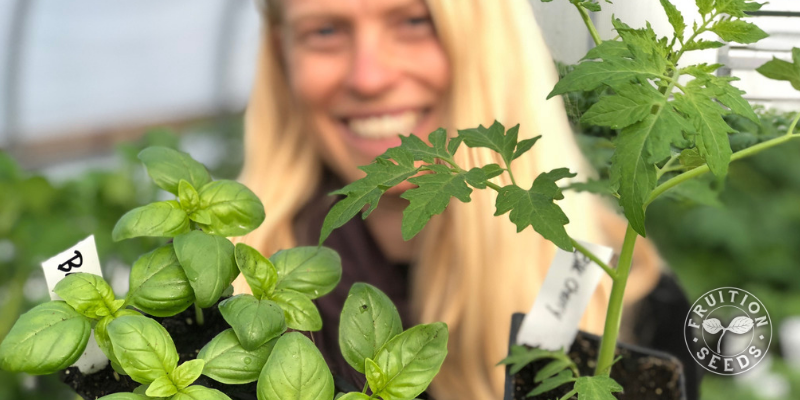
We start our tomatoes ~6 weeks before final frost. Our goal with any transplant is to grow the shortest, stoutest and deepest green transplant we possibly can. We grow thousands of organic transplants, including dozens of varieties of tomatoes to share, so visit on a Saturday or Sunday between 10 and 2 through the first weekend in June! For our full list of available transplants, hop on over here.
2. Remove any flowers and fruit
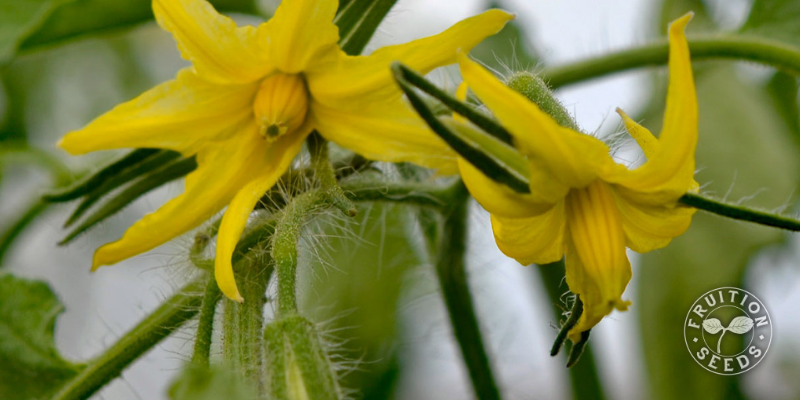
Here’s perhaps the most counter-intuitive insight: please please please pluck every flower and fruit from your tomatoes before you transplant them!
Why?
Transplants focusing on their vegetative growth when planted are healthier and more abundant than transplants already beginning to flower and fruit. The irony: We love to see the harbinger of fruit to come, but don’t be fooled. A young transplant already flowering is simply responding to stress, thinking the end is near, and it’s now or never in the reproduction department. Simply pluck the flowers off for the first two weeks and then your plant will be ready to photosynthesize, flower and fruit abundantly.
Pluck flowers on your eggplant, tomatillos, peppers and ground cherries, as well. Any plant you want to fruit, let it focus on vegetative growth for at least two weeks once planted.
3. Hardening Off
‘Hardening off’ is the ~5 day transition time, acclimating your tender indoor transplants to life in the great (and variable) outdoors, before tucking them in the ground.
The key variables are temperature (fluctuating) and water (less regular, less overall) as well as light (which full sun, as most vegetables crave, is a dramatic transition).
– Resist watering your plants unless you have to; letting the soil surface get dry is totally fine.
– As much as you can, gradually increase their light over 5 days until they experience a full day’s sun and know how to drink it in. Moving them out on an overcast day is the dream.
– For cold-sensitive transplants, it’s ideal for them to experience night-time temps above 55 F. Covering them is an option, though bringing them in often optimal if the temps drop into the 40s.
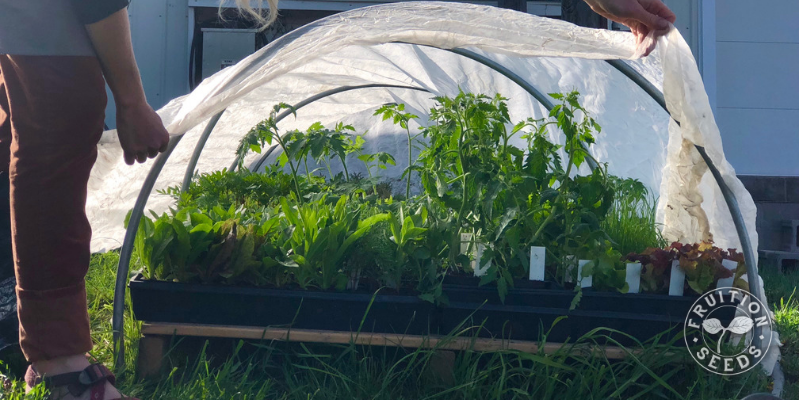
– For a quick cold-frame that can also protects greens, cucurbits and other plants in your garden, place spring steel hoops every 5′ and secure floating row cover over them.
4. Prepare & Feed Your Soil
There is so much to share, where to begin?! Let’s keep it simple.
– If you haven’t tested your soil in the last 3 years, do it now! If you don’t test your soil, it’s like experiencing the Great Barrier Reef from an airplane. You mostly don’t have a sense of what’s happening beneath the surface. Tests cost $20. Don’t wait another day!
– Tomatoes (and many things in the nightshade/solanaceous family) are heavy feeders, so there is a direct relationship between the nutrients you offer them and the abundance you’ll harvest. We feed our soil as well as our tomatoes with compost and our organic granular fertilizer as well as fish + kelp emulsion every two weeks, all season long, to boost health and nutrient density. The granular fertilizer feeds your soil as well as the crop; the emulsion is an instant pick-me-up for yellowing leaves and prevents all kinds of diseases by maintaining exceptional plant health.
– If you’re growing tomatoes in a container, go big! More soil and more nutrients mean more abundance. Ten gallons is the minimum I recommend for dwarf and cherry tomatoes. If you’re growing full-size slicers, fifteen gallons is my go-to. The containers we love most are recycled plastic water bottles woven into a fabric so they drain and plants air-prune rather than becoming root-bound, you’ll find them here. Also, darker containers absorb more heat for tomatoes to revel in; save your lighter-colored containers for lettuces. Finally, source the richest, most nutrient-dense potting soil you can find. We use our potting mix and augment it with our organic granular fertilizer, 1/4 cup thoroughly mixed in each gallon of soil, so your plants have slow-release organic nutrients to enjoy all season.
5. Fish Emulsion is Amazing
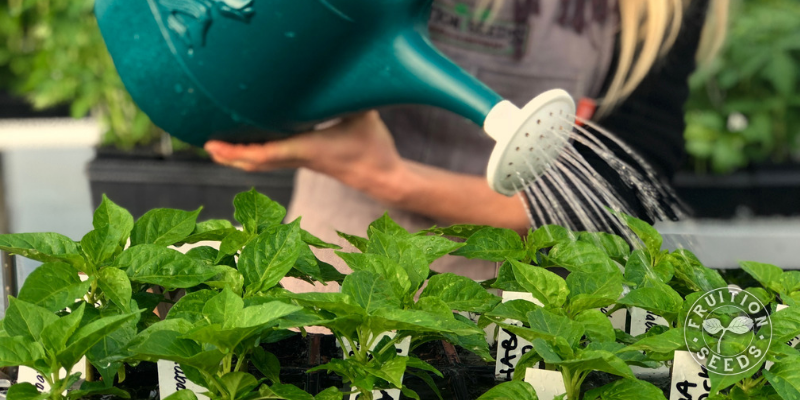
Speaking of fish emulsion, before we transplant anything, we water each one with one ounce of fish emulsion diluted into one gallon of water. The water allows each root hair to hold the soil around them, as well as to quickly grow, exploring the new soil surrounding them. With over one hundred micronutrients, fish emulsion inspires quick yet robust plant growth. Sometimes we dunk each transplant in dilute fish emulsion, other times we’ll ‘drench’ the roots and overhead water them.
6. Plant Spacing: Begin with the End in Mind
Stephen Covey consistently reminds us to ‘begin with the end in mind.’ Though he refers predominately of business and professional development, it’s impressively relevant advice in our gardens, as well.
In terms of planting tomatoes, here are the factors to consider:
– What is the ultimate height/habit of this tomato? Dwarf tomatoes need considerably less trellising than full-size, indeterminate varieties.
– Two feet between plants is a solid minimum, no matter how small the variety. Increasing air flow and reducing humidity reduce disease and increase abundance.
– Be prepared to support your tomatoes ideally prior to planting and no more than two weeks after.
7. Bury as Much of Stem as Possible
It’s true! Most stems would simply rot with that much exposure to soil, but tomato stems have evolved to sprout roots, instead of rot, in such circumstances. Especially if you have tall, leggy transplants, this is an ideal way to scale back their size and approach healthy, even growth once more. We generally plant between 2/3rds and 3/4rs of the stem, leaving the leaves onto decompose in place, since tomatoes love decomposing themselves, isn’t that wild?!
You can plant them vertically in the soil or horizontally. Though more painstaking, planting them horizontally concentrates the roots in the warmest top few inches of the soil resulting in much faster growth. Hardening them off in a horizontal position allows the apical bud to begin to grow upward, so you’re not forcing the stem to bend (and so easily break) as you transplant.
Enough from the screen, now out to your garden!
Happy Planting!
Sow Seeds & Sing Songs,

and the Many Beings of Fruition
ps
It’s so much effort and it’s just so worth it.
