The Dutch have been developing modern soil blocking for nearly a century. Planting seeds into cubes of soil was documented 2,000 years ago in Central America, as well.
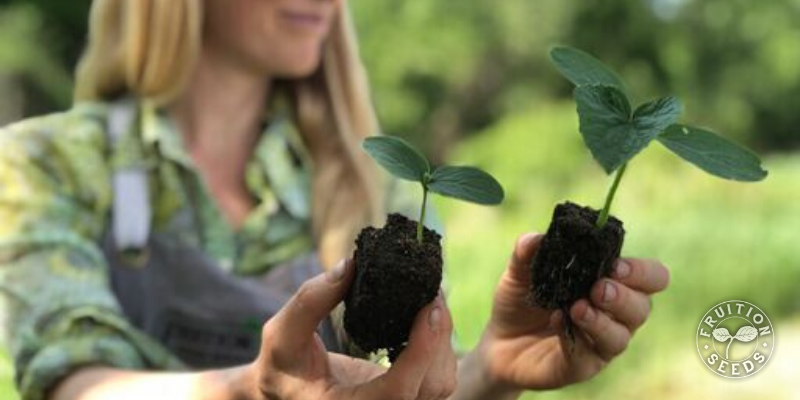
I love soil blocks for the remarkable health of transplants compared to their cousins grown in cell trays. And they’re fun to make! Plus, if you take care of your soil blockers, they will last decades if not generations.
Brilliantly, potting mix is both the container and the growing medium of a soil block. Since (most) roots evolved to grow into dark soil rather than bright air, seedlings will naturally air-prune themselves in soil blocks. This maximizes their soil volume (which is much more than a cell in a tray could offer) and prevents seedlings from becoming root-bound. For decades and without question, soil blocking is my favorite way to grow seedlings.
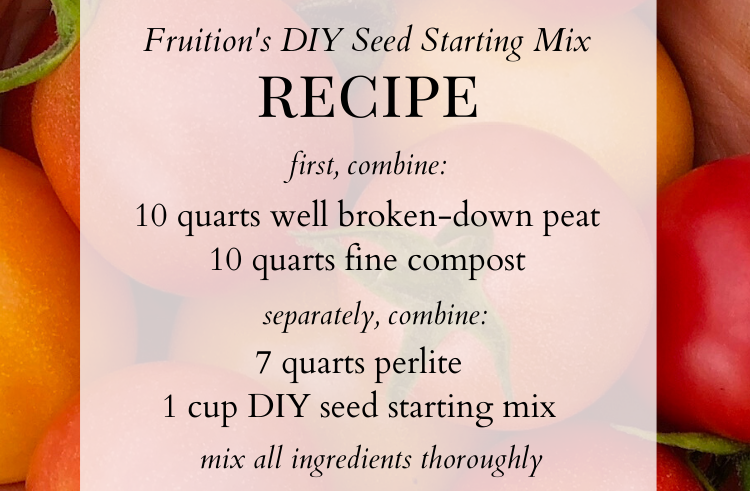
The best soil for soil blocking is at about half coconut coir or peat moss, which is heart-breaking because neither are particularly renewable, so we’re experimenting with more local and renewable materials, stay tuned! We share our two favorite potting mixes for soil blocking, our compost-based organic potting mix as well as our DIY potting mix minerals so you can make 80 quarts of your own high-quality potting mix super economically. The DIY mix comes with this recipe:
Let’s Talk Soil Blockers!
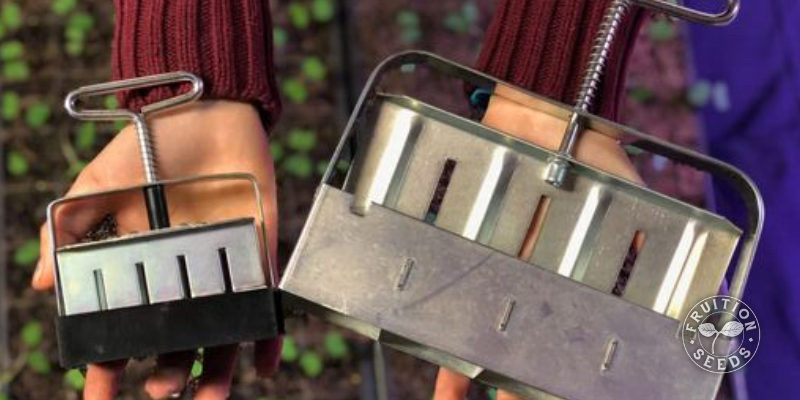
There are two main sizes of soil blockers that are ideal for home gardeners. Mini-blockers create half-inch blocks ideal for tiny seeds that need time and/or warmth to germinate. Standard soil blockers make two-inch blocks accommodating almost everything else under the sun! They compliment each other marvelously, especially with simple plugs (‘mini-inserts’) that allow the mini-blocks to be ‘potted up’ directly into the large soil blocks, keeping life simple. I’ve had my large soil blocker for nearly two decades and she’s still making soil blocks with us each season. Our Soil Block Collection includes one large blocker, one mini-blocker as well as a set of mini-inserts so your blockers can seamlessly integrate.
Mini-blockers (on the left)) create twenty half-inch soil blocks. This size is perfect for germinating tiny seeds (like oregano), slow to germinate seeds (like lavender) and/or heat-loving seeds (like peppers). Mini-blockers brilliantly maximize the limited and precious space on your heat mat, since they are so much smaller than large blocks or cell trays. When seeds are that much closer to the heat mat, their germination rate is both higher and faster. Also, mini-blocks pot up into large blocks with simple plugs (‘mini-inserts’) that attach to the large soil blocker, making perfect indentations for your mini-blocks to pot-up or nest into.
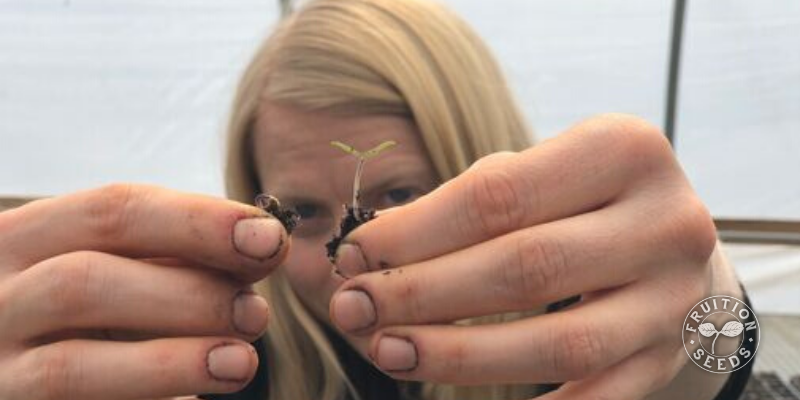
Once seeds in your mini-blocks have germinated, pot them up into large soil blocks or other larger containers pronto, closer to the seedling on the left rather than the right.
The Best Seeds to Start in Your Mini-Blocker…
Any plants that thrive with extra heat, especially solanaceous tomato, eggplant, pepper, tomatillo and ground cherry seeds.
Tiny seeded herbs with moderate to long days to germination: oregano, thyme, parsley, shiso, basil, natives like milkweed
Tiny seeded flowers with long days to germination: lavender, nigella, rudbeckia, hyssop, vervain, boneset and so many more.
The Best Seeds to Start in Your Large Soil Blockers…
This size is optimal for many varieties, especially larger, quick-growing seeds. We sow everything from broccoli to lettuce, basil to zinnias directly in our large soil blocks! If you’re going to get just one soil blocker, this is the one.
Zinnias, lettuce… we’ll harden off ~4 week-old transplants started as large soil blocks and plant directly in the garden
Peppers, ground cherries… 6+ week-old transplants started in large soil blocks pot up with ease into four-inch containers, continuing to grow before being hardened off and transplanted.
Our large blockers make two-inch soil blocks. Other sizes are available, though we find this size is ideal for most seeds and home-scale.
If you’re going to only have one soil blocker, the large soil blocker is the way to go. It’s the most versatile and widely applicable. If you grow a lot of flowers, tomatoes, peppers, eggplants or herbs, having both the mini and large blocker will dramatically increase your abundance.
How to Make Soil Blocks
1. Gather your materials:
~ Potting Mix: The best soil for soil blocking is at about half coconut coir or peat moss, which is heart-breaking because neither are particularly renewable, so we’re experimenting with more local and renewable materials, stay tuned! We share our two favorite potting mixes for soil blocking, our compost-based organic potting mix as well as our DIY potting mix minerals so you can make 80 quarts of your own high-quality potting mix super economically.
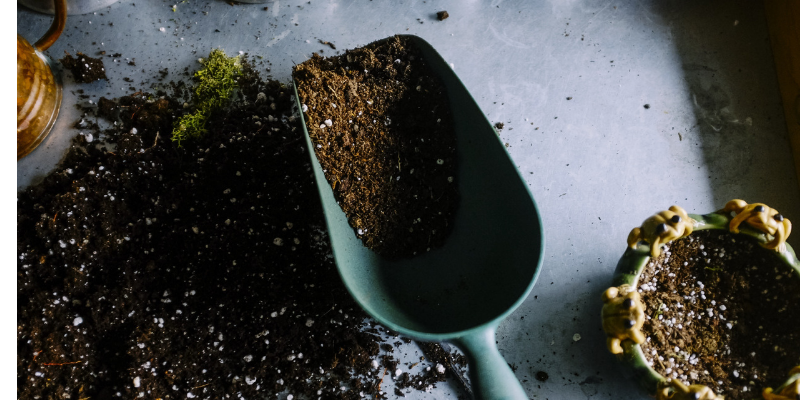
~ A tub to easily contain your potting mix
~ Warm water (tap is perfect)
~ Seeds (organic seeds well-adapted for your region grow the most abundance)
~ Soil blocker(s) (we use a mini and 2-inch blocker)
~ Mini inserts (so your mini soil blocks will perfectly nest in the large blocks, if you’re planning to pot up the minis into the large soil blocks)
~ Small pan of water (to rinse your blockers in)
~ Bottom trays (if you don’t have classic seed starting bottom trays, cookie sheets and take-out containers, like the one below, work well!)
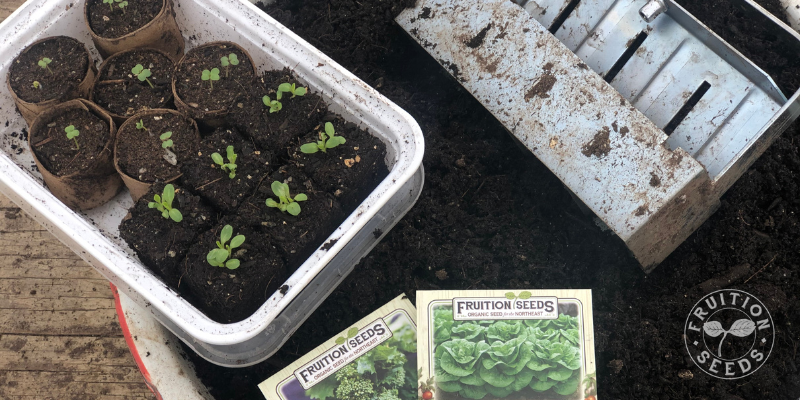
2. Moisten Your Potting Mix
In a sizable tub with a flat bottom, moisten your potting mix with warm water. Potting mix for soil blocks is wetter than for cell trays. A squeezed handful of mix should not drip, but nearly. Your sense of proportion will come with experience. If possible, keep un-moistened potting mix close by in case you over-wet your mix and need to even out the moisture.
Pro-tip: Use warm water to moisten your potting mix, making soil blocking more enjoyable for both you and your seeds!
3. Fill your soil blockers!
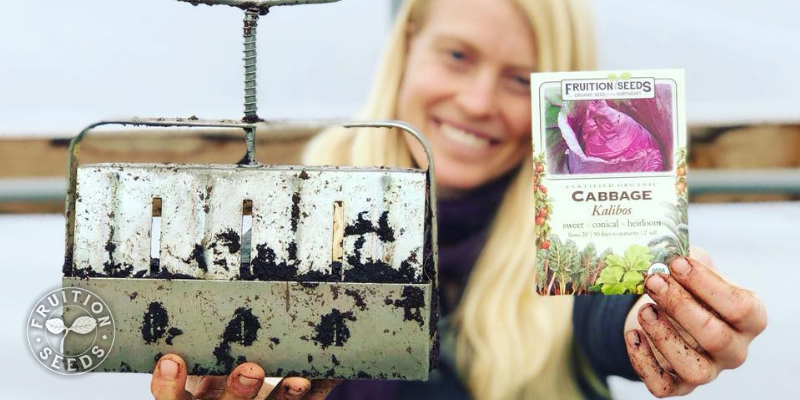
Fill your soil blocker by pressing it into the potting mix, pushing down several times and twisting a bit, rocking from side to side. Your goal is to have solid blocks of soil. I often hand-pack the soil into each block to be sure there are no remaining air pockets. (This is especially important if your large soil blocker has the mini inserts attached, because the top of the block has a thinner, more fragile edge.) Once you’re confident your blocks are packed tight, scrape any excess soil on the bottom off with your hand, a butter knife or the edge of your container, creating a flat base for your soil blocks.
Pro-Tip: Pack your soil blocker as densely as possible. The upper corners of the block are the most prone to crumbling. Use your fingers to pack your potting mix deep into the soil blocker before the blocker is mostly full. This is especially critical when using the mini-inserts, whose edges are narrower and thus more fragile. If your block crumbles, even a little bit, simply try again!
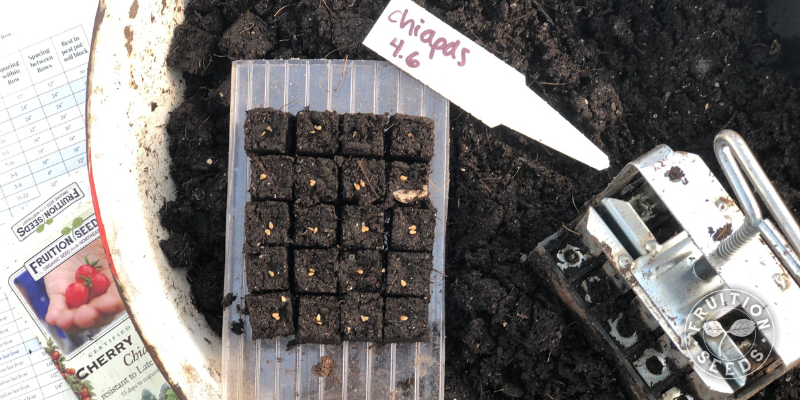
4. Place your blocker on your bottom tray.
Release your blocks by pressing the spring-loaded handle and raising the blocker in a smooth, even motion. Voila! If your blocks are not solid, toss them back into your tub of potting mix and continue on. No one gets it right the first time and soil blocking has one of the most fun, most forgiving learning curves imaginable. I always learn best by watching people do things effectively, so hop on over for video tutorials to help you make great soil blocks, as well.
Soil blocks should be adjacent to each other in your starter trays. Straight out of the blocker is perfect, no need to increase spacing! Blocks dry out quickly if they are too far apart. Immediately adjacent, it seems like there’s no space between, but plants sense the slightest air pocket. Pack them in and maximize your growing space!
Pro Tip: Practice makes perfect. Soil blocks are no exception. Your first soil blocks will likely make you laugh. They’ll slump, they’ll crumble, they’ll look like the grossest brownies you’ve ever seen! Throw them back in the mix and make more. You may learn the hard way that standing ability alone doesn’t prove their density; blocks that aren’t dense enough will slump and crumble in the following weeks. When in doubt, you want them firm and their edges crisp.
5. Rinse your soil blocker between each set of blocks.
To make consistently perfect soil blocks (and for the biggest payoff from your efforts), your potting mix needs clean contact with your soil blocker.
Plus a few tips for sowing
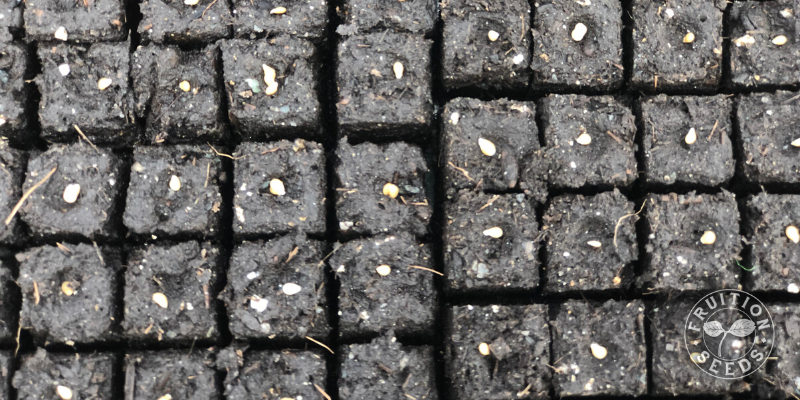
~ Sow only 1 to 2 seeds per soil block
~ Sow seeds only twice their depth (& look out for those few varieties that require light to germinate!)
~ Bottom-watering is your new best friend
~ To prevent algae from developing on the surface of soil blocks and any seedlings, let the top millimeter of your blocks dry before watering again.
~ Finally, take notes!
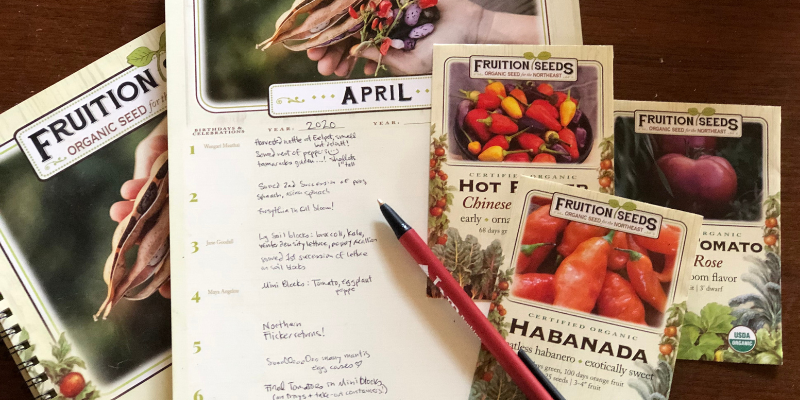
There are as many ways to garden as there are gardens and seed starting is no exception. We’re constantly experimenting, learning new things, refining our approaches and taking notes so we can continue to do everything with more ease and joy in the seasons to come. We created our Across the Seasons perpetual calendar to make note-taking simple, effective and beautiful!
Take notes! Make them beautiful! It’s fun! You’ll learn so much! That’s why we made our Across the Seasons perpetual calendar!
I record what we’re sowing, when and how, as well as when the Red-Winged Blackbirds return, when the wild leeks are ready to harvest and everything else that happens in our gardens, from seed starting to our final harvest in fall.
Happy Sowing & Happy Everything!
Sow Seeds & Sing Songs,

and the Many Beings of Fruition
ps
And to think it all begins with a seed!
