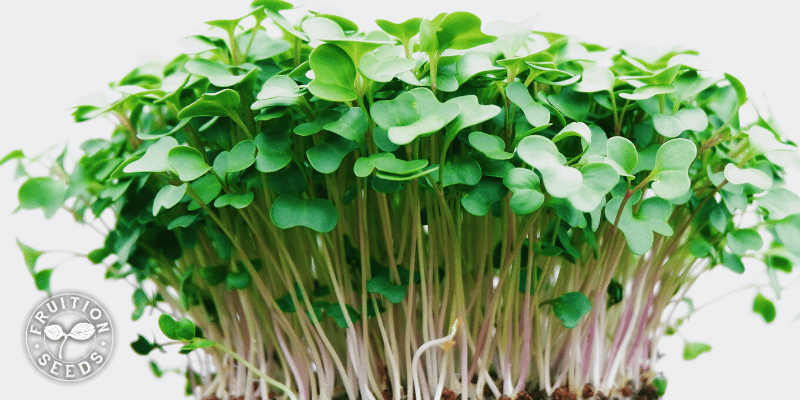
Microgreens save us each winter, making it easy to get through the darkest months with luscious greens. Often harvested ten days after they’re sown, microgreens may be the closest thing to instant gratification in our gardens. Anything delicious that sprouts quick is a great choice for microgreens. More colors = more nutrients, so lean into rainbow-colored radish, purple basil, crimson amaranth and everything in between!
Here’s the Quick List of the
7 Steps for Growing Your Own Microgreens
1. Assemble Everything You Need
2. Fill Trays with Moistened Potting Mix
3. Let’s Sow!
4. A Little Label (goes a long way)
5. Let There Be Light (and warmth)
8. Bonus! Breathe, savor & repeat <3
Enjoy, Breathe & Repeat!
and here’s a 50-minute webinar diving into these steps alongside you:
Enjoy Fruition's
Microgreens Made Easy Micro-Course!
for free, because gardening grounds us in chaotic times and we're all in this together ❤️
~ let’s dig in, step by step ~
1. Assemble Everything You Need
One of the many reasons we love growing microgreens is that what we need to be successful is surprisingly simple.
Crucial Tools:
- Seeds
- Growing Containers
- Potting Mix + Water
- Good Light
- Join Fruition’s
free online
Microgreens Made Easy Micro-Course!
- Heat Mats
- Labels
- Take notes
let’s dig into each of these!
Seeds
Oh, the possibilities!
Any delicious seed that sprouts quick is a great choice for microgreens. More colors = more nutrients, so lean into rainbow-colored radish, purple basil, crimson amaranth and everything in between!
Here are our favorites:
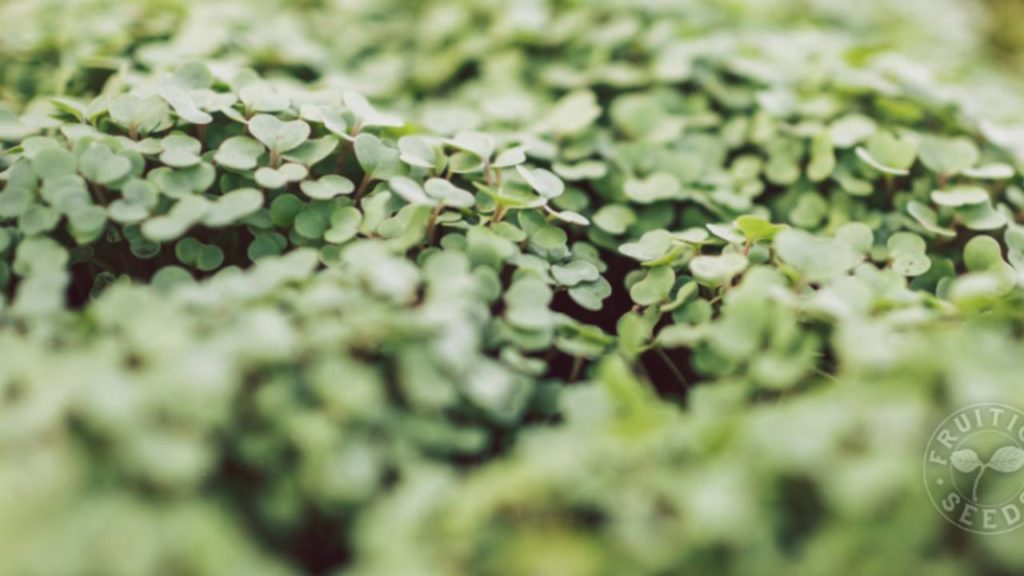
- Broccoli, arugula, asian spinach, mustard & kale often sprout within 24 hours & are harvested 10 days later, not to mention they are so delicious as well as versatile
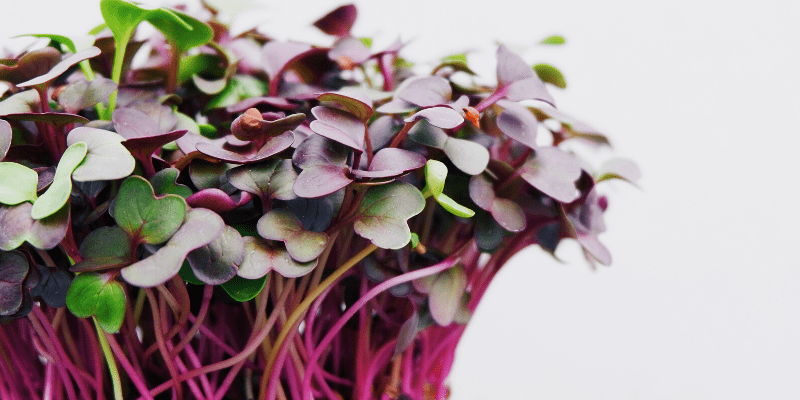
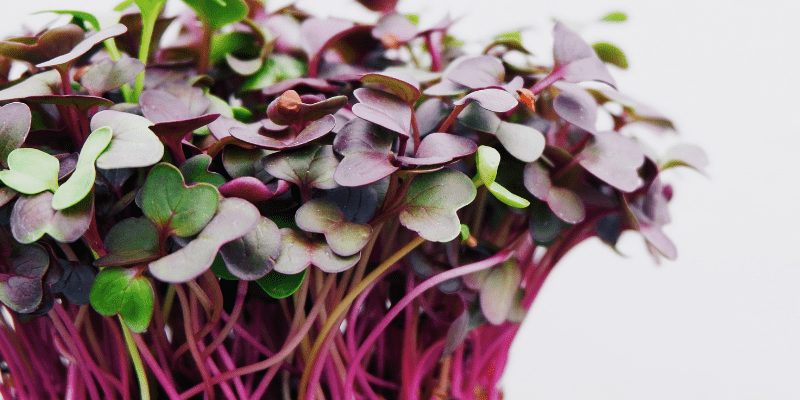
- More colors = more nutrients so revel in our confetti rainbow radish mix, purple radish seeds as well as our vivid red amaranth! Red beets often take about one week longer to harvest, but so worth it: They are just gorgeous.
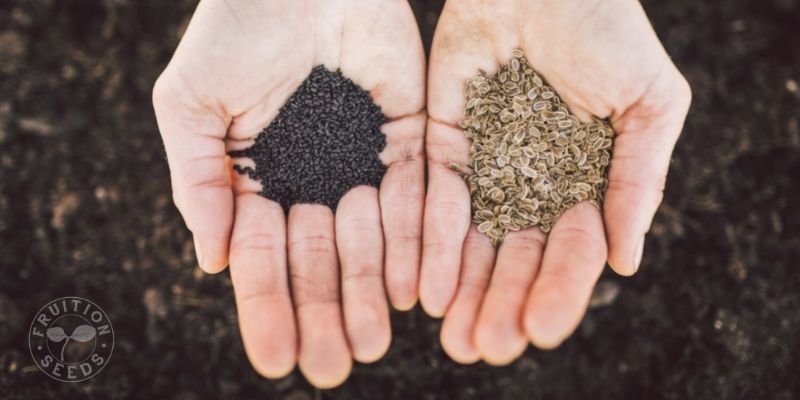
- Dill and cilantro are not as quick as broccoli & other brassicaceous (isn’t that a lovely word?!) microgreens, though they are the most delicious & add so much life to our soups & curries all winter long.
- For the most massive & succulent microgreens, sow sunflower and buckwheat. Peas are incredible microgreens, too.
- Also, if you’re like us and cringe to waste anything (especially a seed!), here is some great news: growing microgreens is an easy way to use old seed without letting them go to waste. Even as germination rates may drop as seeds age, microgreens are sown so densely that it generally works out brilliantly.
Growing Containers
Again, you’ve got options!
You can start seeds in virtually anything that a) holds potting mix and b) drains excess water.
That being said, some containers are better than others! Keep in mind: If you’re starting seeds in your home, you’ll need a bottom tray to catch excess water from the containers that drain. When I was a girl, we used cookie sheets; plastic trays without holes are often available in garden centers, as well. Be creative and have fun!
Basically, any container that holds at least a half-inch of potting mix will do the trick!
Drainage is important. It’s essential if you’re getting serious about production. If you just want to experiment and play, just make sure the mix is moist when you sow and resist the urge to water it until the soil is bone-dry: You’ll likely be just fine.
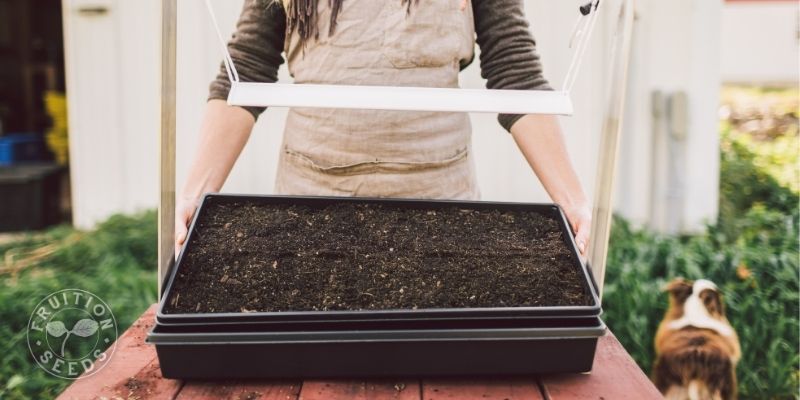
We grow in seedling trays — two nested seedling trays. The upper tray holds the potting mix and grows the microgreens, with holes on the bottom to provide drainage. The bottom tray does not have holes and prevents excess water from making a mess of your kitchen!
Keep in mind your microgreens hardly need any potting mix to grow in, so shallow containers are often better choices than deep containers. We share our go-to microgreen trays in our Microgreens Made Easy Kit.
Potting Mix + Water
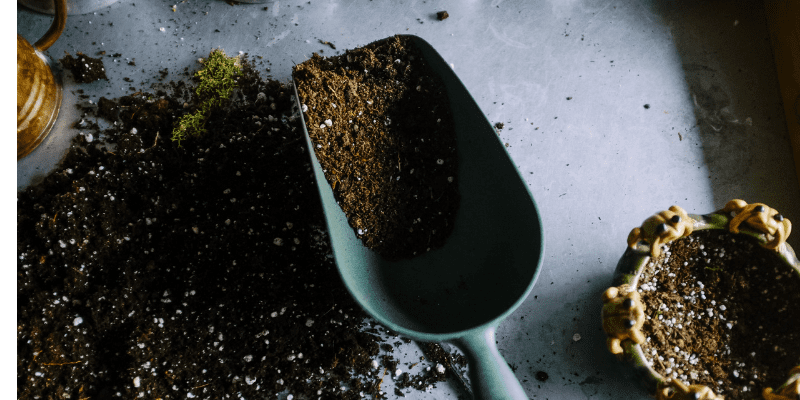
Rather than garden soil, microgreens are best grown in potting mix, since it is ideal for sprouting seeds. Which is basically what microgreens are: an elongated sprout!
Friends, virtually any potting mix will do. Most potting mixes are a growing medium rather than a source of rich nutrition, which is important to consider when growing 4+ week old seedlings. Microgreens, by contrast, are seven to ten days old and are barely accessing nutrients from the soil in that time. Microgreens aren’t quite as vigorous but they’ll grow remarkably well in a sterile growing medium (like coconut coir) though they struggle in pure peat moss (which is so acidic), so we always grow microgreens in bona fide potting mix.
We grow our microgreens in the organic potting mix we use for all of our seedlings — it’s richer than necessary but they grow impressively well. Our mix is light enough for them to germinate quickly and nutrient-dense with compost and worm castings, bringing out the flavors of each variety and helping them be as tender as possible. We share 20 quarts of our organic potting mix in our Microgreens Made Easy Collection.
Before you sow, moisten the potting mix so it’s damp but not dripping when you squeeze a handful of moistened mix. Because watering may displace some soil and seeds, we do everything we can to avoid watering in the first place. The quick-growing nature of microgreens makes this easier than you might think!
Good Light
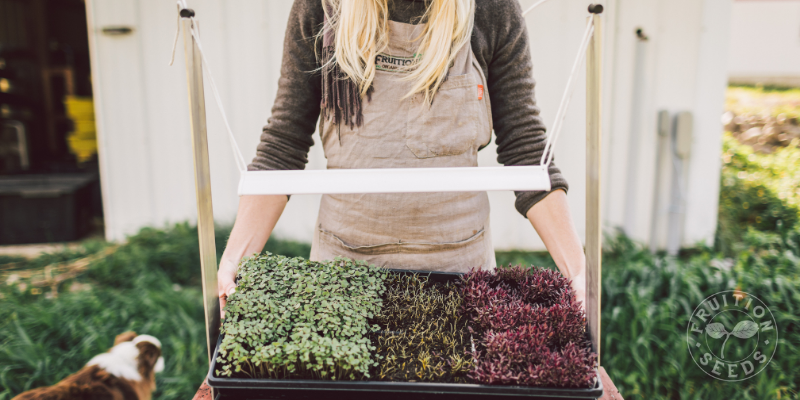
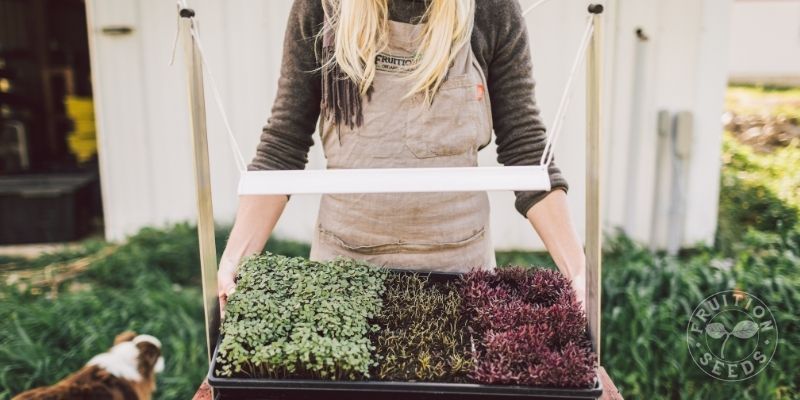
Microgreens grow easily indoors all winter, though without optimal light they’ll grow slanting (rather than straight) and thus a challenge to harvest beside a south-facing window. Better light will grow more tender, flavorful & easy to harvest microgreens. The longest, straightest and fastest-growing microgreens are grown under lights; we grow three trays at a time under one of our 17″ LED lights.
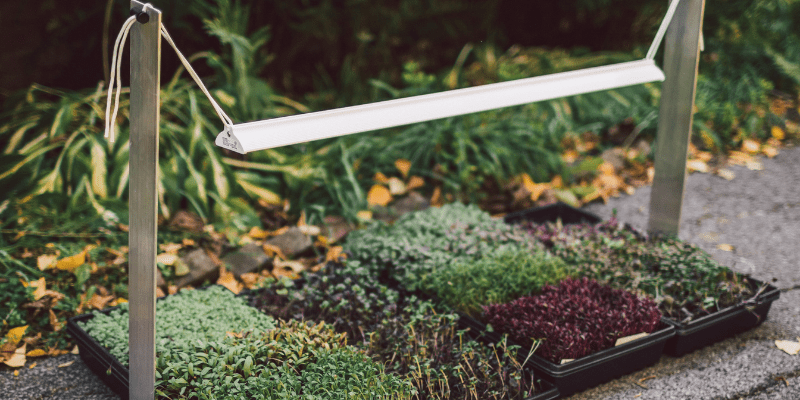
It’s true: If you only have access to windows, even those south-facing, you’re better off growing sprouts (that truly can thrive in less than optimal light) rather than microgreens. Up to three trays of microgreens can thrive under one 17″ light. We also share 33″ LED lights (above!) that grow up to six trays of gorgeous microgreens.
Optional Yet Optimal:
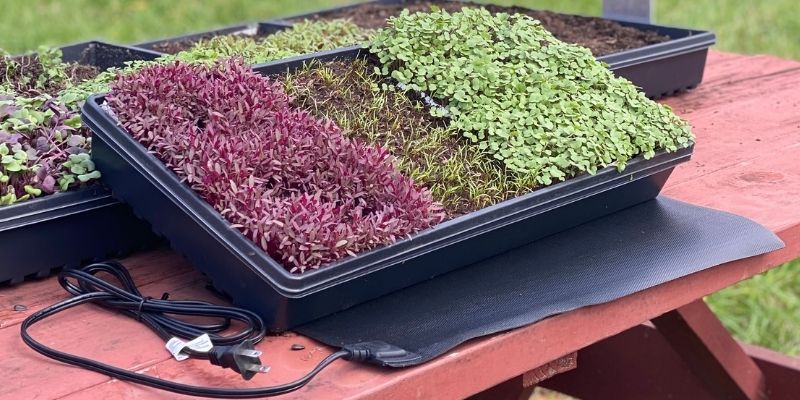
Heat Mats encourage quick and even germination, making microgreens even easier and faster to grow. (We share our go-to heat mats on our website.)
Labels sharing variety and date sown are handy to stay organized. Yogurt containers cut into labels are fabulous!
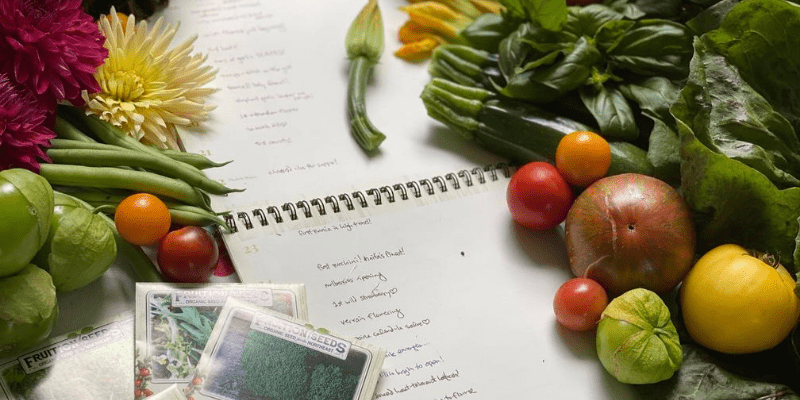
Take notes allows you to see patterns you may not otherwise see! This is why we made our Across the Seasons Perpetual Calendar, keeping notes simple as well as beautiful, and there are as many ways to take notes as there are gardeners. Have fun!
And if you haven’t yet, join Fruition’s free online Microgreens Made Easy Micro-Course! With step-by-step video tutorials and lots of extra tips from our decades of experience, we’d love to surround you with joy as well as abundance ~
2. Fill Trays with Moistened Potting Mix
Potting mix moistened with warm water feels so good! If you’re not planning on removing rootlets and re-using the potting mix, no need to fill the full tray. One inch of mix is more than enough. We find that shallow soil makes harvesting from containers where the soil line is significantly below the lip of the container. If you can find a shallow container to start with, this is the dream! Though many containers will work beautifully.
Flattening the top of the seedbed (without compacting the mix) is key to encourage even emergence, making harvest that much easier and more satisfying. And it’s fun! If you’re using a seedling tray and have another of the same size, gently ‘nest’ the empty container on top of the soil-filled container and press every so slightly to form an even seedbed.
Re-using potting mix to grow more microgreens is an option, just be sure to remove any and all rootlets you possibly can. If you don’t, they’ll rot and increase your future harvest’s susceptibility to damping off.
3. Let’s Sow!
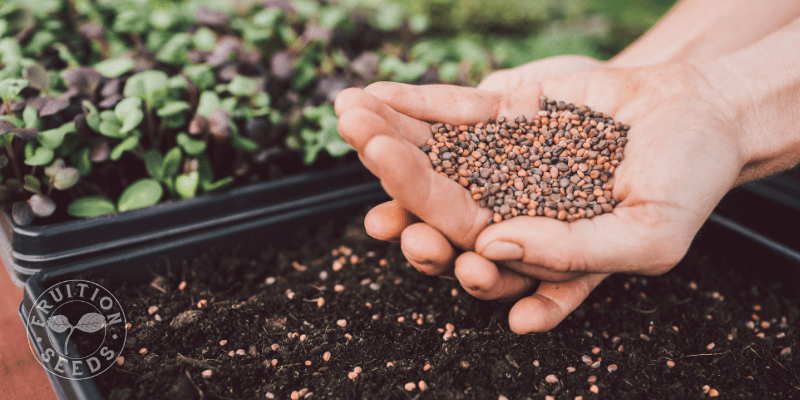
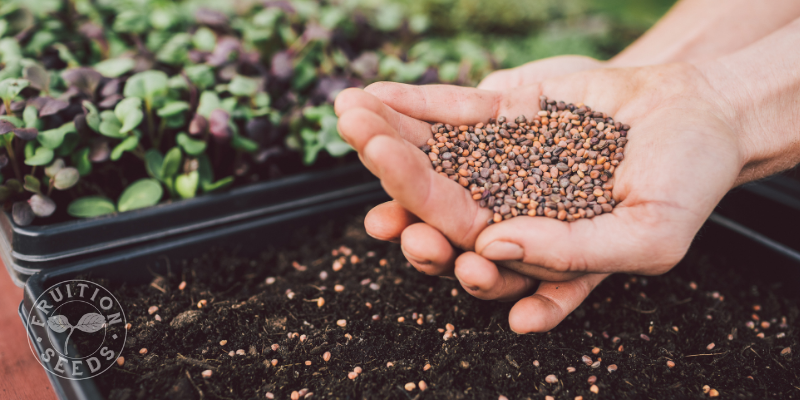
Now (hooray! We’re planting microgreens!) we sprinkle seeds, leaving the approximate width of the seed between seeds. For tiny seeds, like brassicas, there is very little space between seeds; for larger seeds, like sunflowers, there is more space. It’s all relative. When some are closer than others, we leave them. Gardening (like life!) is not an exercise in perfection and microgreens, you’ll find, are quite adaptable. Feel free to manage and micromanage (ha!) as brings you joy, learning and sharing as you go.
Once our seeds are sown, we add just enough soil to cover the seeds, tamping them down ever so slightly. This seed to soil contact is critical for quick, consistent germination. Remember to moisten your soil ahead of time, so you’re not tempted to displace soil and seeds as you water them.
One thing we learned the hard way: Since some seeds germinate and grow faster than others, planting a single variety in a given container makes harvest much more simple. It’s tempting to grow a row of basil next to a row of kale next to a row of beets all in the same tray, but we suspect you’ll find it easier to sow them in separate containers so you can harvest them at their peak, which will not be all at the same time.
Also, for large seeds like sunflowers, peas and buckwheat, we soak them in water overnight before sowing to help them germinate that much faster!
For more tips and step-by-step instructions, join Fruition’s free Microgreens Made Easy Micro-Course.
4. A Little Label (goes a long way)
Labels sharing variety and date sown are handy to stay organized. The date is especially helpful if you’re taking notes and are curious exactly how many days your microgreens have grown. Yogurt containers cut into labels are fabulous!
Take notes allows you to see patterns you may not otherwise see. This is why we made our Across the Seasons Perpetual Calendar, keeping notes simple as well as beautiful, and there are as many ways to take notes as there are gardeners, so be yourself and have fun!
5. Let There Be Light (and warmth)
Light: Microgreens grow easily indoors all winter, though without optimal light they’ll grow slanting (rather than straight) and thus a challenge to harvest beside a south-facing window. Better light will grow more tender, flavorful & easy to harvest microgreens. The longest, straightest and fastest-growing microgreens are grown under lights; we grow three trays at a time under one of our 17″ LED lights.
It’s true: If you only have access to windows, even those south-facing, you’re better off growing sprouts (that truly can thrive in less than optimal light) rather than microgreens. Up to three trays of microgreens can thrive under one 17″ light. We also share 33″ LED lights (above!) that grow up to six trays of gorgeous microgreens.
In the spirit of ‘feeding two birds with one scone,’ we love to use our grow lights in April and May for our garden seedlings and after we enjoy microgreens grown under them all winter.
Without a great light, your microgreens will likely lean toward the window rather than growing straight up. This isn’t the end of the world, but it certainly makes them harder to cut and less productive, overall.
Your goal with microgreens is for the seeds to germinate at once and grow as quick as possible so you can harvest the longest, straightest microgreens as possible. Growing them under a great light is an easy way to ensure they’re growing straight, strong and full of flavor. When we grow three trays under our 17″ LED lights, we’re rotating them every day so none of them get leggy and bend. If you only grow two trays, rotating them is unnecessary.
Warmth: Warm temperatures (between 70 and 78 F, 21 to 25 C) encourage quick and even germination, making microgreens even easier and faster to grow. Heat mats make this easy; we share our go-to heat mats on our website. Otherwise, discern where the most consistently warm (and not too hot) place in your home may be.
Finding the balance of warmth and light can be a challenge without a heat mat and grow light, but when there’s a will there’s a way and it’s always worth experimenting!
6. Much Ado About Watering
Watering your microgreens from above, especially before germination, can easily displace your soil and seeds, so we do everything we can to avoid overhead watering in the first place. The quick-growing nature of microgreens makes this easier than you might think!
The key is to simply moisten your soil ahead of time. Your goal is for the soil to be thoroughly damp but not dripping when you squeeze a handful of moistened mix.
From there, our goal is to simply bottom water…
A Quick Intro to Bottom Watering: Bottom-watering keeps moisture at the roots, where seedlings need it most. By nesting your tray of microgreens in a second “bottom” tray without holes, you add stability as well as the capability for the brilliance of bottom-watering. Instead of watering from above, add water to the bottom tray or gently along the edges of your top tray. This allows the soil to wick up the moisture from below while the stem and leaves stay dry, preventing damping off. For a video demo, join Fruition’s free Microgreens Made Easy Micro-Course.
7. Harvest
With scissors!
We have a friend who grows thousands of trays each season and they use electric beard trimmers (!) but most sincerely, find yourself a sharp pair of scissors and you’re so set.
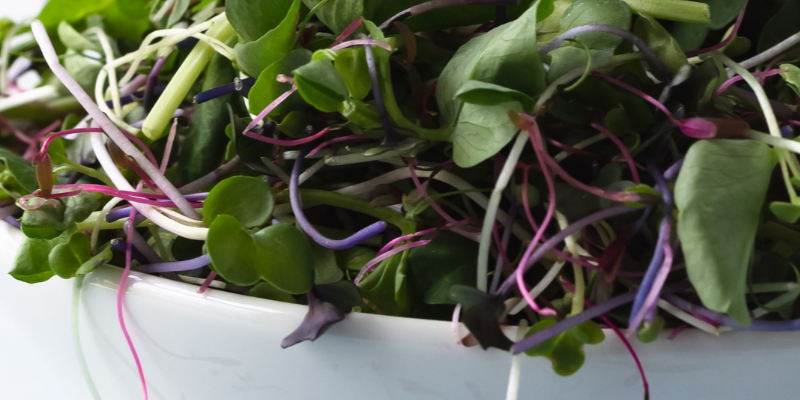
Holding the top leaves of your microgreens, simply snip the base of their stems, as close to the soil as you can with ease. From there, I toss the microgreens directly on a salad, sandwich or anything else I’m about to enjoy! They quickly wilt and lose their loveliness, so we snip them fresh every time, though they’ll last several days in the fridge in a plastic bag, as well.
We find it’s easiest to harvest microgreens when the container has been sown to a single seed type: all kale or all dill, for example. Each seed type germinates and grows at a different rate, so planting a single variety in a given container makes harvest more simple.
For a video demo (including a time lapse!) of harvesting, join Fruition’s free Microgreens Made Easy Micro-Course. Here’s a tiny taste:
Friends, growing microgreens is so easy, so fun and so rewarding! We love bringing fresh greens to our friends all winter long, a taste of the spring ahead, even in the depth of winter. May we, too, sink our roots into just enough soil and bring joy, hope and profound nourishment to all those around us!
Happy Sowing & Happy Harvesting!
Sow Seeds & Sing Songs,


& the whole Fruition crew


Thank you again for the great instructions and inspiration! How do you know when to harvest?
Depending on the type of seeds you’ve chosen, your microgreens will be ready to harvest about two to three weeks after planting. Look for the first set of “true leaves” as sign of readiness.
Depending on the type of seeds you’ve chosen, your microgreens will be ready to harvest about two to three weeks after planting. Look for the first set of “true leaves” as a sign of readiness.