Enjoy Fruition's
Microgreens Made Easy Micro-Course!
Fruition’s free course shares dozens of video tutorials to surround you with abundance for seasons to come.
We look so forward to joining you on the journey!
So many folx have been asking how to grow microgreens over the winter ahead, so let’s dive in! We’d love to set you up for success. So here are…
6 keys to grow microgreens with ease!
#1: The Right Seeds
Anything delicious that sprouts quick is a great choice for microgreens. We’ve just made massive packets of seeds perfect for sowing trays of fresh microgreens all winter long (hooray!) and here are a few of our favorites:
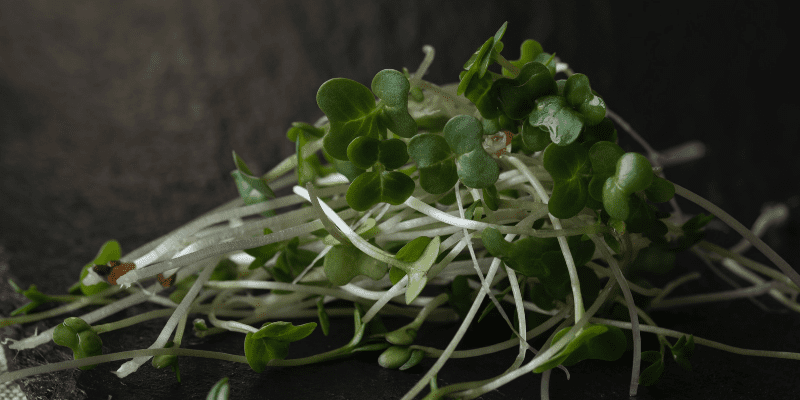
~ Broccoli, arugula & kale often sprout within 24 hours & are harvested 10 days later, not to mention they are so delicious as well as versatile!
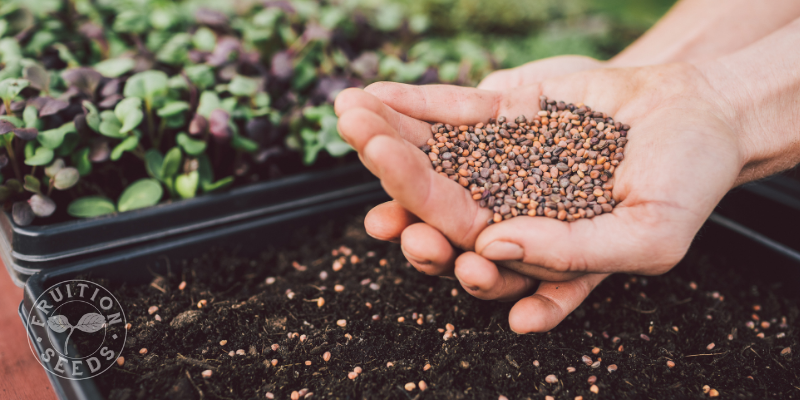
~ More colors = more nutrients so revel in our confetti rainbow radish mix, purple radish seeds (below) as well as our vivid red amaranth!
~ Quick-growing microgreen herbs like basil, dill and cilantro are not as quick as broccoli & other brassicaceous (isn’t that a lovely word?!) microgreens, though they are the most delicious & add so much life to our soups & curries all winter long.
~ For the most massive & succulent microgreens, sow sunflower and buckwheat. Peas are incredible microgreens, too.
If you’re like me and cringe to waste anything (especially a seed!), here is some great news: microgreens are an easy way to enjoy old seed without letting them go to waste. Even as germination rates may drop as seeds age, microgreens are sown so densely it generally works out brilliantly.
How Many Days ‘Til Microgreens Harvest?
There are two general categories that microgreen seeds fall into: quick and slow. Quick microgreens are often harvested between 10 and 15 days after sowing; slow microgreens are often harvested after 18 to 26 days.
If you’re sowing more than one variety in a tray, just be sure you’re sowing a variety with similar days to maturity. We made you a quick reference list below!
How Many Seeds Sow How Many Microgreens?
From quick to slow, here are our go-to varieties! You’ll find them all on our website as well.
Arugula | quick | 1.5 ounces ~5 trays
Asian Spinach (tatsoi) | quick | 1.5 ounces sow ~5 trays
Broccoli | quick | 1.5 ounces sows ~3 trays
Kale | quick | 1.5 ounces sow ~5 trays
Mustard | quick | 1.5 ounces sow ~5 trays
Red Amaranth | quick | 1.5 ounces sow ~5 trays
Purple Radish | quick | 1.5 ounces sow ~3 trays
Confetti Radish Mix | quick | 1.5 ounces sow ~3 trays

Quick microgreens like the broccoli above are often harvested between 10 and 15 days after sowing; slow microgreens are often harvested after 18 to 26 days.
Basil | slow | 1.5 ounces sow ~5 trays
Red Beet | slow | 1.5 ounces sow ~3 trays
Buckwheat | slow | 1.5 ounces sow ~3 trays
Cilantro | slow | 1.5 ounces sow ~3 Trays
Dill | slow | 1.5 ounces sow ~ 3 trays
Black Oil Sunflower | slow | 2 ounces sow ~2 trays
#2: The Right Tools
Growing microgreens is delightfully simple! In addition to seeds, you just need shallow trays to grow them in, soil to fill the trays and, perhaps counter-intuitively, light.

We made a Microgreens Made Easy Collection to set you up for success, including:
~ Three top trays perfect for microgreens with drainage holes as well as three bottom trays without holes so you can grow microgreens anywhere without the mess!~ 20 quarts of organic compost-based potting mix ideal for microgreens as well as seed starting and potting up transplants in spring.
~ Your choice of three microgreens varieties to savor! Take a peek at all our scrumptious varieties here.


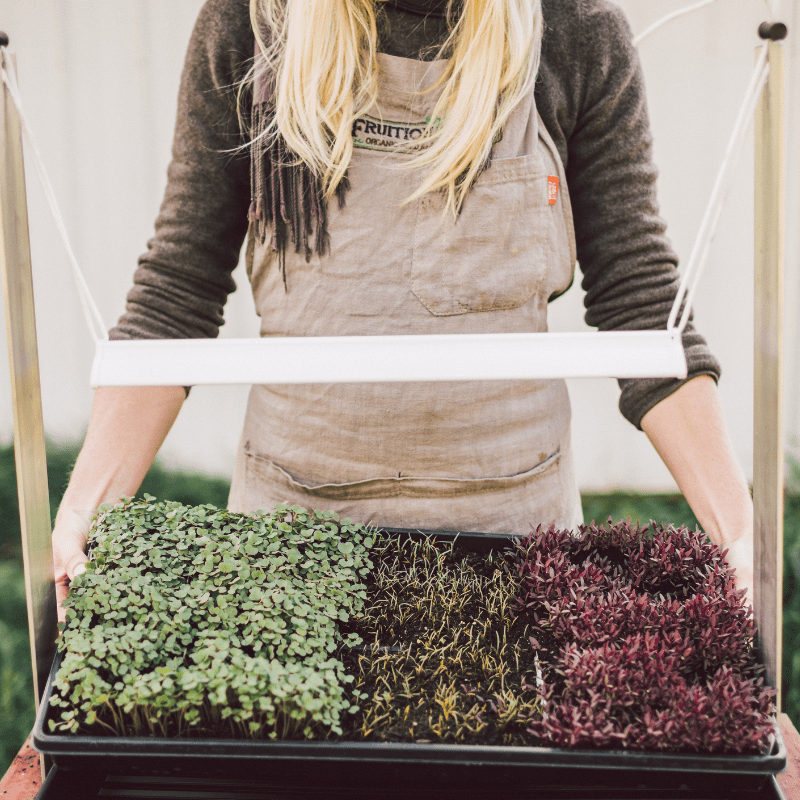
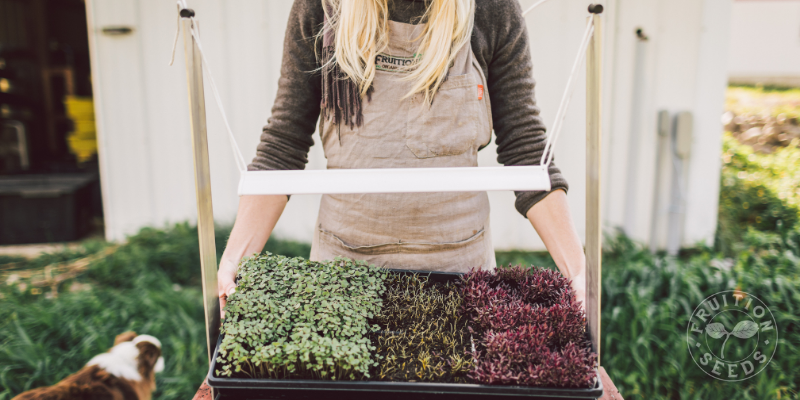
~ Finally, choose whether you’d love our 17″ full-spectrum LED light & rust-proof light stand. If you already have a great grow light, you’re all set! If not, keep in mind that if you don’t have supplemental light for your microgreens they will not be as tender, flavorful & vibrantly pigmented. If you only have access to windows, even those south-facing, you’re better off growing sprouts (that truly can thrive in less than optimal light) rather than microgreens. Up to three trays of microgreens can thrive under one 17″ light. We also share 33″ lights (above) that grow up to six trays of gorgeous microgreens.


#3: Sow Just So
How to sow microgreens? In a word, densely!
But first, I love to make the top of the seedbed as flat as I can without compacting the soil, so they all can emerge uniformly with ease. I do this by pressing another tray gently atop the soil, making an even seedbed without compressing the potting mix.

Next, I sprinkle seeds, leaving the approximate width of the seed between seeds. For tiny seeds, like brassicas, there is very little space between seeds; for larger seeds, like sunflowers, there is more space, though it’s all relative. If some are closer than others, I leave them. Gardening is not an exercise in perfection for me & neither are microgreens! Feel free to manage and micromanage (pun intended!) as brings you joy, learning and sharing as you go.
Once my seeds are sown, I add just enough soil to cover the seeds, tamping them down ever so slightly. This seed to soil contact is critical for quick, consistent germination. Remember to moisten your soil ahead of time, so you’re not tempted to displace soil and seeds as you water them.
#4: Bottom-Watering is Best
Watering your microgreens, especially before germination, can easily displace your soil and seeds, so we do everything we can to avoid watering in the first place. The quick-growing nature of microgreens makes this easier than you might think! After sowing, bottom-watering rather than overhead watering is the key. Join our free Seed Starting Academy for bottom-watering tips now & for the full story for microgreens specifically, stay tuned: We’re about to share a new free online micro-course on How to Grow Microgreens at Home! I can’t wait to share more!
#5: Harvest & Enjoy!
How to harvest your microgreens? With scissors! We have a friend who grows thousands of trays each season and they use electric beard trimmers (!) but most sincerely, find yourself a sharp pair of scissors and you’re good to go. Holding the top leaves of your microgreens, simply snip the base of their stems, as close to the soil as you can with ease. From there, toss the microgreens directly on a salad, sandwich or anything else you’re about to enjoy! They quickly wilt and lose their loveliness, so we snip them fresh every time.
If you know someone who would love this info, please don’t hesitate to share it!
Hop over to…
Fruition’s How to Grow Microgreens Micro-Course
As we grow our first tray of microgreens for the season, I’m creating a mini-course about it (that I can’t help but call a micro-course!) to accompany you step-by-step as you grow microgreens!
Sow Seeds & Sing Songs,


and the Many Beings of Fruition


